
准备工作
- 实验会创建一个 Google Cloud 项目和一些资源,供您使用限定的一段时间
- 实验有时间限制,并且没有暂停功能。如果您中途结束实验,则必须重新开始。
- 在屏幕左上角,点击开始实验即可开始
Create a Deployment Manager deployment
/ 5
Update the Deployment Manager deployment
/ 5
In this lab, you create a deployment using Deployment Manager and use it to maintain a consistent state of your deployment. You will also view resource usage in a VM instance using Cloud Monitoring.
In this lab, you will learn how to perform the following tasks:
For each lab, you get a new Google Cloud project and set of resources for a fixed time at no cost.
Sign in to Qwiklabs using an incognito window.
Note the lab's access time (for example, 1:15:00), and make sure you can finish within that time.
There is no pause feature. You can restart if needed, but you have to start at the beginning.
When ready, click Start lab.
Note your lab credentials (Username and Password). You will use them to sign in to the Google Cloud Console.
Click Open Google Console.
Click Use another account and copy/paste credentials for this lab into the prompts.
If you use other credentials, you'll receive errors or incur charges.
Accept the terms and skip the recovery resource page.
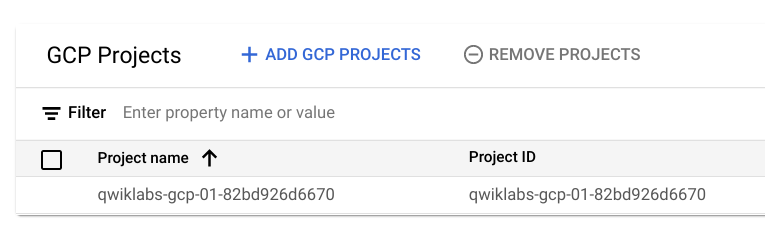
Make a note of the name of your GCP project. This value is shown in the top bar of the Google Cloud Platform Console. It will be of the form qwiklabs-gcp- followed by hexadecimal numbers.
In the GCP Console, on the Navigation menu (
Scroll down in the list of enabled APIs, and confirm that these APIs are enabled:
In GCP console, on the top right toolbar, click the Activate Cloud Shell button (
For your convenience, place the zone that Qwiklabs assigned you to into an environment variable called MY_ZONE. At the Cloud Shell prompt, type this partial command:
followed by the zone that Qwiklabs assigned you to. Your complete command will look similar to this:
PROJECT_ID placeholder string with your Google Cloud Platform project ID using this command:ZONE placeholder string with your Google Cloud Platform zone using this command:n1-standard-1 machine type to e2-medium using this command:mydeploy.yaml file, with your modifications, with this command:The file will look something like this:
When the deployment operation is complete, the gcloud command displays a list of the resources named in the template and their current state.
Confirm that the deployment was successful. In the GCP Console, on the Navigation menu (
Click on the VM instance's name to open its VM instance details screen.
Scroll down to the Custom metadata section. Confirm that the startup script you specified in your Deployment Manager template has been installed.
Click Check my progress to verify the objective.
nano text editor to edit the mydeploy.yaml file:value: "apt-get update", and edit it so that it looks like this:Do not disturb the spaces at the beginning of the line. The YAML templating language relies on indented lines as part of its syntax. As you edit the file, be sure that the v in the word value in this new line is immediately below the k in the word key on the line above it.
Press Ctrl+O and then press Enter to save your edited file.
Press Ctrl+X to exit the nano text editor.
Return to your Cloud Shell prompt. Enter this command to cause Deployment Manager to update your deployment to install the new startup script:
Wait for the gcloud command to display a message confirming that the update operation was completed successfully.
In the GCP console, on the Navigation menu (
Click on the my-vm VM instance's name to open its VM instance details pane.
Scroll down to the Custom metadata section. Confirm that the startup script has been updated to the value you declared in your Deployment Manager template.
Click Check my progress to verify the objective.
In the GCP Console, on the Navigation menu (
Select the checkbox for my-vm and click on STOP.
Click on STOP again to confirm.
Click on the VM instance's name to open its VM instance details screen.
Click on EDIT (pencil icon).
Scroll down to the bottom of the page and select Compute Engine default service account from Service account dropdown.
Select Allow full access to all Cloud APIs for Access scopes.
Click on Save.
Now, restart the VM by clicking on Start at the top of the VM instance details screen page.
Click on START again to confirm.
In the GCP Console, on the Navigation menu (
To open a command prompt on the my-vm instance, click SSH in its row in the VM instances list.
In the ssh session on my-vm, execute this command to create a CPU load:
This Linux pipeline forces the CPU to work on compressing a continuous stream of random data.
You will now setup a Monitoring workspace that's tied to your Google Cloud Project. The following steps create a new account that has a free trial of Monitoring.
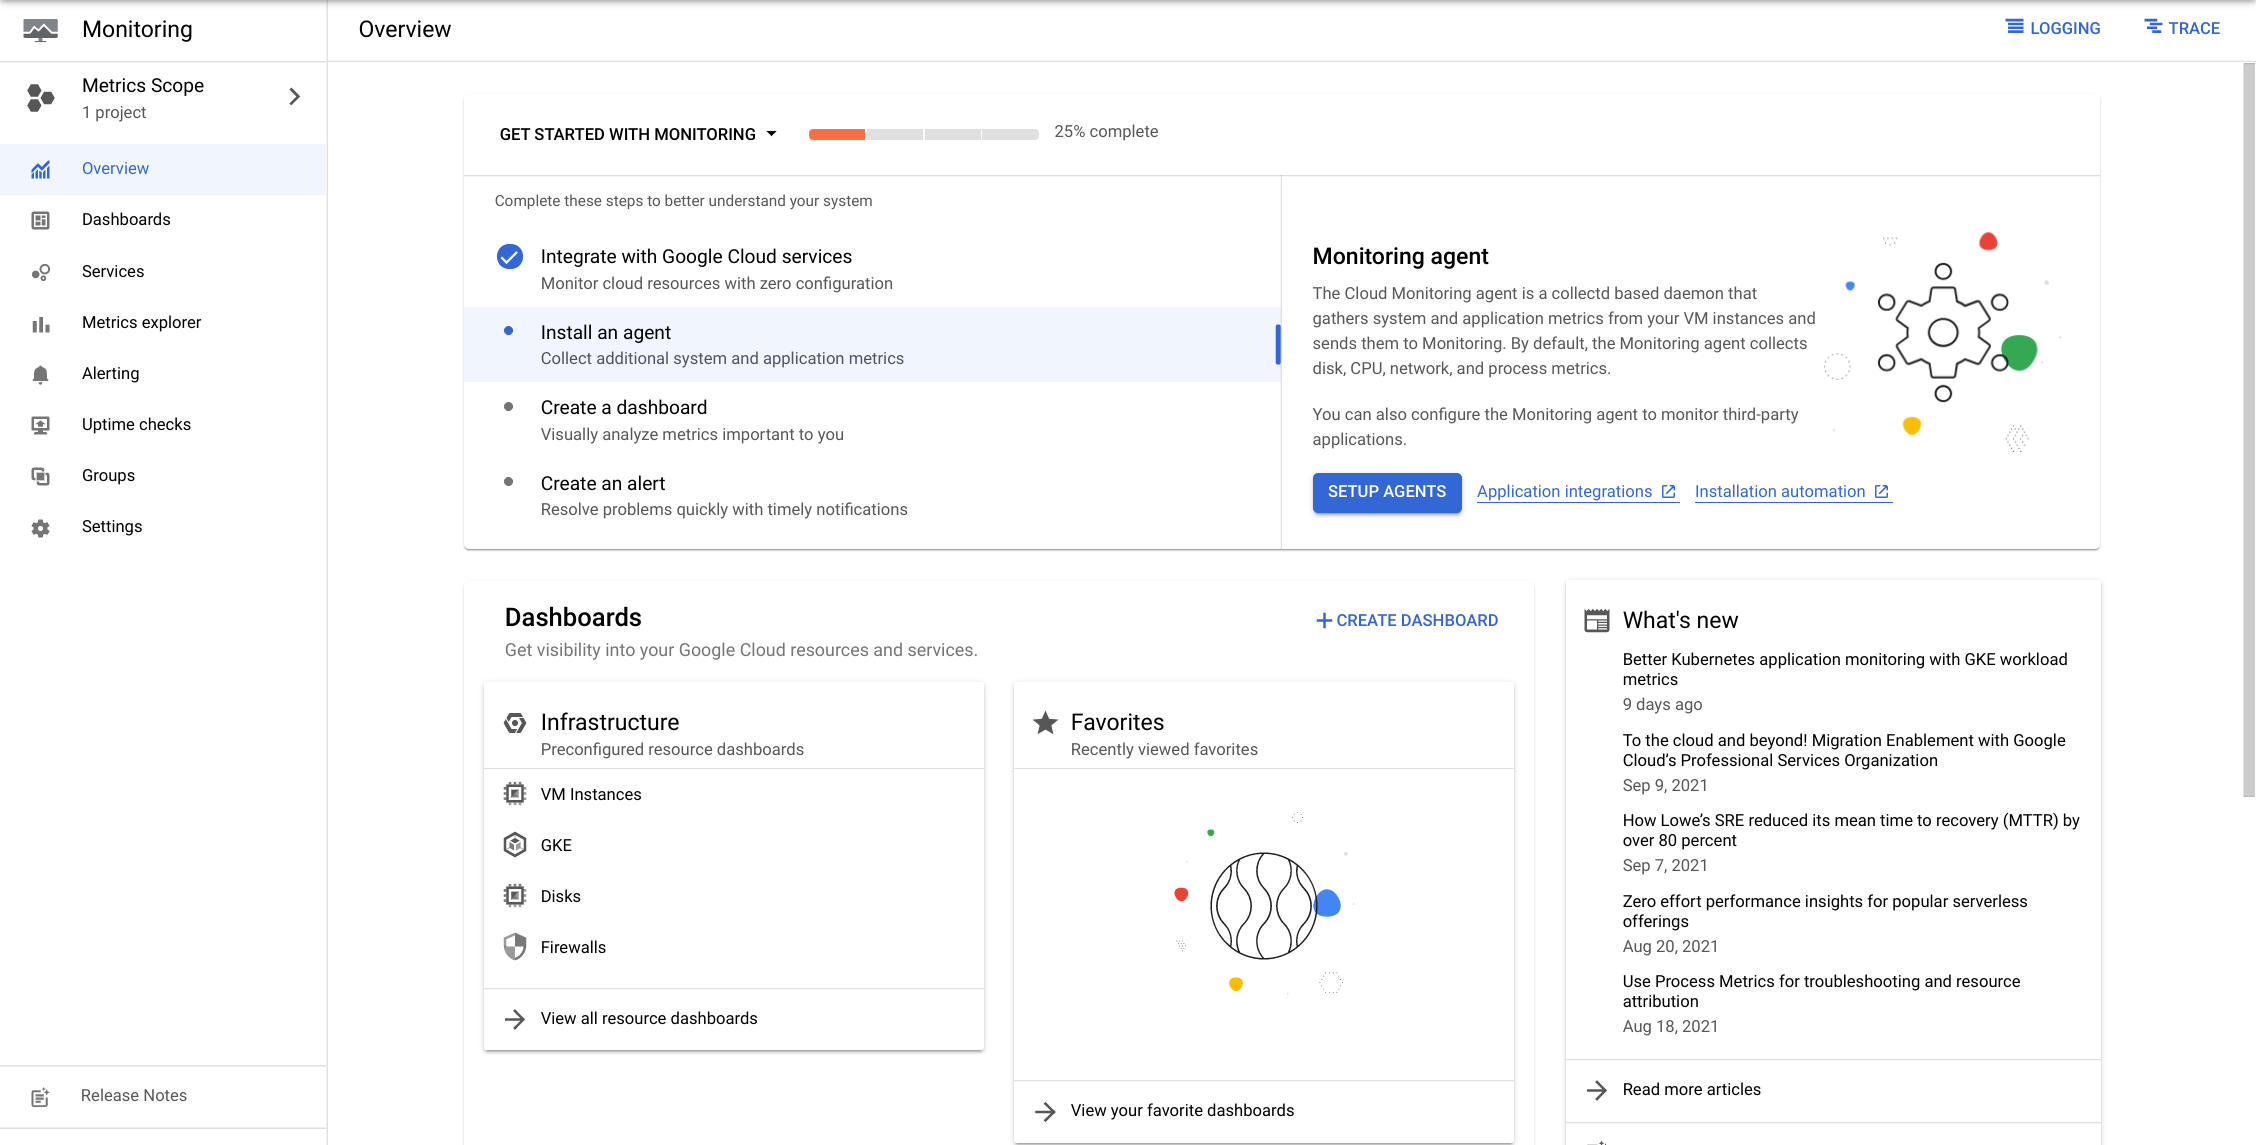
In the Cloud Console, click on Navigation menu > Monitoring.
Wait for your workspace to be provisioned.
When the Monitoring dashboard opens, your workspace is ready.
Once both of the agents have been installed on your project's VM, click Metrics Explorer under the main Cloud Monitoring menu on the far left.
In the Metrics Explorer pane, Click on Select a Metric dropdown under Resource & Metric and then select VM instance > Instance > CPU usage.
Click Apply.
In the resulting graph, notice that CPU usage increased sharply a few minutes ago.
When you have completed your lab, click End Lab. Google Cloud Skills Boost removes the resources you’ve used and cleans the account for you.
You will be given an opportunity to rate the lab experience. Select the applicable number of stars, type a comment, and then click Submit.
The number of stars indicates the following:
You can close the dialog box if you don't want to provide feedback.
For feedback, suggestions, or corrections, please use the Support tab.
Copyright 2022 Google LLC All rights reserved. Google and the Google logo are trademarks of Google LLC. All other company and product names may be trademarks of the respective companies with which they are associated.


此内容目前不可用
一旦可用,我们会通过电子邮件告知您

太好了!
一旦可用,我们会通过电子邮件告知您

一次一个实验
确认结束所有现有实验并开始此实验